Author: 27glyky3lzad

  • Fourier-Art

    Fourier-Art

    Discrete Fourier Transform to draw any shape

    Output

    Video

    alt text

    Code

    • Node.js
      • Download and install
      • Write node in cmd to initiazie and chek if you vae properly installed Node.js
    • p5 Manager
      • Although this tool is not mandatory , it helps to create projects and libraries are included in the project when it is created
      • After installing Node.js write npm install p5-manager -g in cmd to install p5 manager
      • Go the desired directory using cd and write p5 generate -b Fourier_Art
      • It will crate a p5 javascript project named “Fourier_Art” with all the necessary files
    • Visual Studio Code
      • Download and install
    • Live Server
      • Install this extension in VSCOde to create a server

    Note : You can use other editors like Atom or Sublime . VSCode is just my preffered choice

    How to use

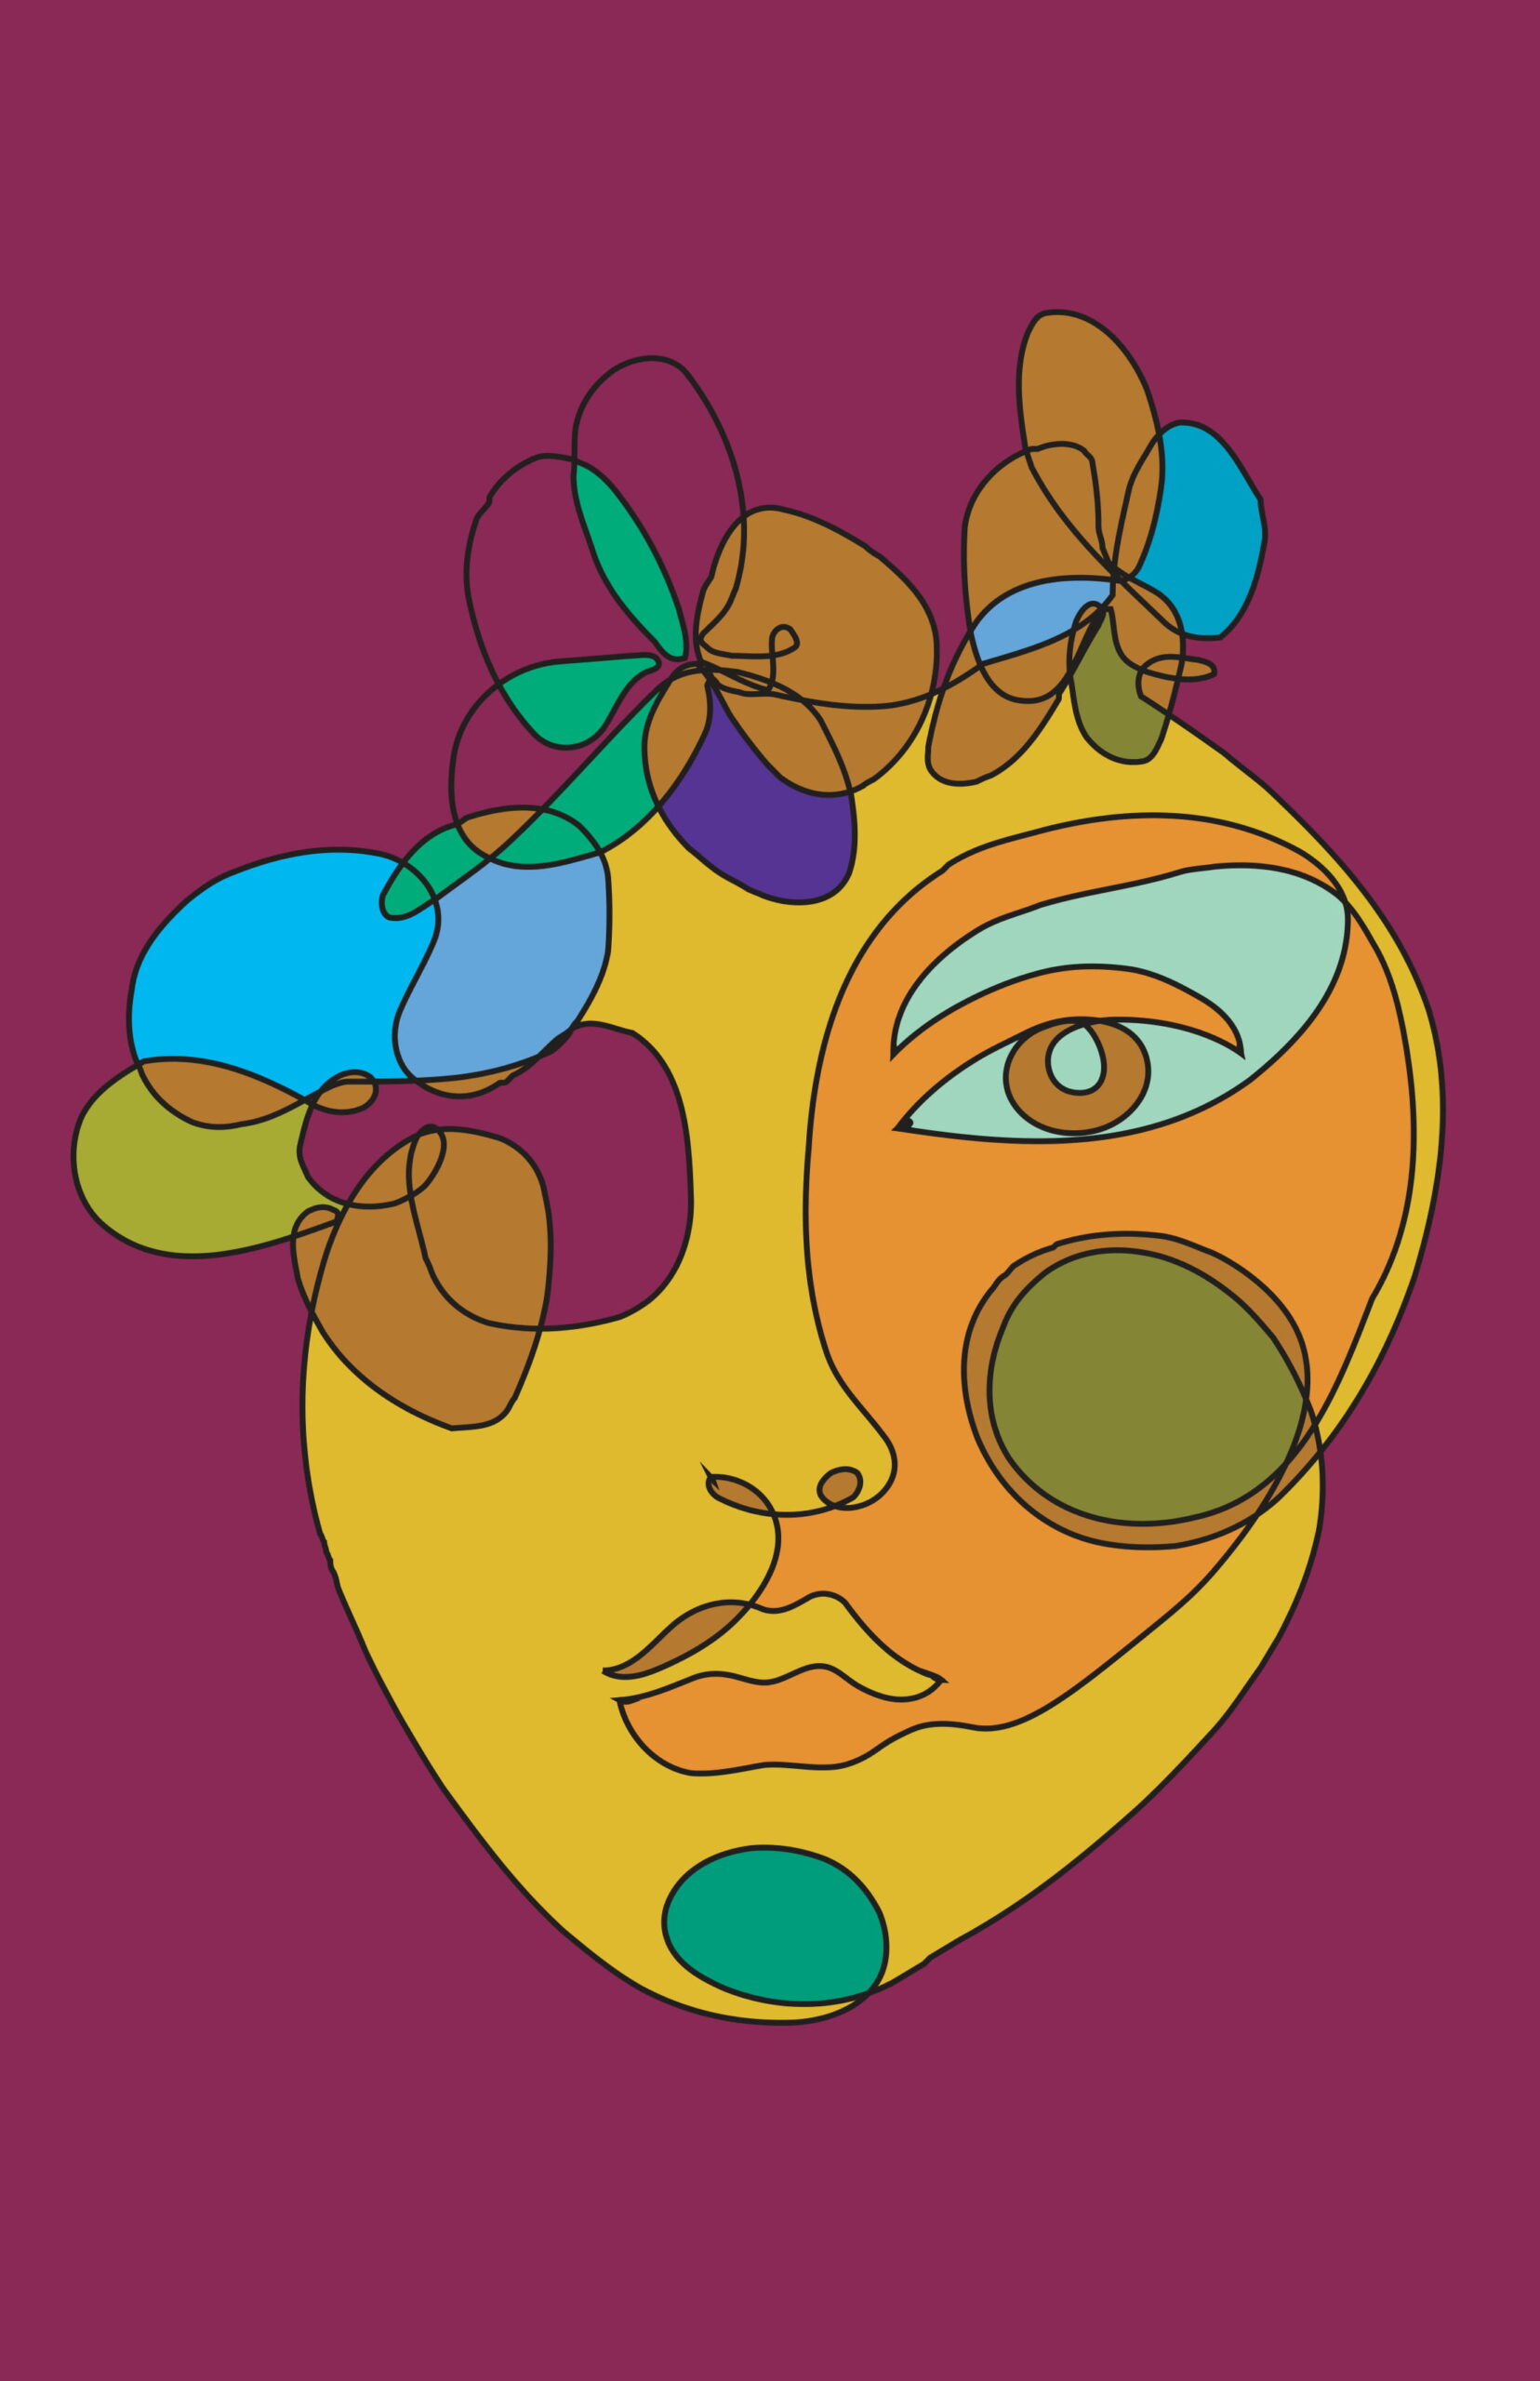
    • Draw your artwork in Illustrator and export as svg format . Here’s what I drew on illustrator :
      (You can find the illustrator file in the Art Ultima folder named Art Ultima.ai )

    alt text

    • Now convert it to x,y co-ordinates using Coordinator
    • Copy with proper format in the Art.js . And you are good to go .

    Enjoy the Fourier Transform

    Resources

    Visit original content creator repository https://github.com/zarif98sjs/Fourier-Art
  • DailyPlanner

    Daily Planner

    Kotlin

    Developer

    Paranid5

    About App

    Daily Planner is an Android planner/note application that supports complex and customizable messages with Markdown support (+ basic HTML and syntax highlighting). Application supports both simple and dated notes + regularity (daily, weekly, etc.) and notifications

    Preview

    Simple and Dated Notes

    simple notes   dated

    Notes’ preview with the support of Markdown + Syntax Highlighting

    simple syntax   hightlight syntax

    Notes’ editing

    edit with HTML   edit with Markdown

    Receive notifications with Dated Notes

    notifications

    Stack

    • Kotlin 1.9
    • Coroutines + Flow
    • Dagger Hilt + Assisted Inject
    • Room + Coroutines and Flow extensions
    • Retrofit
    • Jackson
    • KotlinX.DateTime
    • Calendar + Java Date/Time API
    • Easy Permissions
    • Carbon
    • Material 3
    • AlarmManager + BroadcastReceiver
    • AndroidX.ViewModel + SavedStateHandle
    • AndroidX.ViewPager
    • AndroidX.Fragment
    • AndroidX.ConstraintLayout
    • AndroidX.RecyclerView + AsyncListDiffer

    Current Status:

    Alpha V 0.1.0.2

    Implemented features:

    1. Simple and Dated notes
    2. Complex formats preview support (Markdown + Syntax Highlighting)
    3. Notes editing + markdown editor
    4. Notes regularity (daily, weekly, monthly, yearly, none)
    5. Notes cancellation and status change (is done or not)
    6. Notifications and dated notes’ status updates after them
    7. Check for updates

    TODO:

    1. Image support
    2. Notifications’ grouping (folders)

    System Requirements

    Android 5.0 or higher

    License

    GNU Public License V 3.0

    Visit original content creator repository https://github.com/dinaraparanid/DailyPlanner
  • peermesh

    peermesh

    Start a fully meshed network by passing on the generated link and share files peer-to-peer and end-to-end encrypted powered by WebRTC!

    • Works fully in the browser using WebRTC.
    • Mesh swarms can be started by opening the site. A “mesh URL” is generated to be passed around.
    • The mesh URL contains a password. All files mesh will be sent end-to-end encrypted.
    • Swarms can be joined by opening the mesh URL.
    • Swarm form fully meshed networks (n:n) using webrtc-swarm.
    • WebRTC signaling data is exchanged via signalhub.
    • Swarm URLs can be bookmarked and reused. trust on first use: encryption keys
    • You see when the source code changes because of hyperboot. trust on first use: source code

    Files will *not* be propagated among peers. The peers that initates a transfer will send the file to every connected peer individually.

    Combining trust on first use both for encryption keys *and* source code will help you defeat Sauron!

    Installation

    git clone https://github.com/pguth/peermesh.git
    cd peermesh
    npm install
    
    # You need a signaling server running:
    npm install -g signalhub
    signalhub listen -p 7000
    
    # Now serve peermesh:
    npm run build # and then open `public/index.html` in your browser or
    npm start # to start the development server on `http://localhost:9966`

    Related

    • peertransfer
      Peertransfer is a (1:n) WebRTC based file transfer tool. Compared to peermesh it encodes a authentication code into the “sharing URL” that is passed around and will not initiate WebRTC signaling if the code is missing or wrong.

    Credits

    Visit original content creator repository
    https://github.com/perguth/peermesh

  • dmenu-launch

    dmenu-launch

    Simple and customizable dmenu launcher for quicly accessing gpg encrypted passwords with pass, application shortcuts, notes and documents in general.

    Requirements

    Following utils are required:

    Usage

    usage: dmenu_launch.py [-h] [--pass | --apps | --notes | --search]
    
    Simple dmenu launcher for passwords, docs, notes and application shortcuts.
    
    optional arguments:
      -h, --help  show this help message and exit
      --pass      Copy password from password store.
      --apps      Quick launches a desktop application with exo-open.
      --notes     Opens a text/markdown note from a given directory with exo-open.
      --search    Quick search and launch from a given directory with exo-open.

    (Optional) OpenBox Keybindings

    OpenBox users just need to add the following to ~/.config/openbox/rc.xml for the suggested keybindings:

       <keybind key="W-A">
        <action name="Execute">
          <command>/usr/bin/dmenu-launch --pass</command>
        </action>
       </keybind>
       <keybind key="W-Q">
        <action name="Execute">
          <command>/usr/bin/dmenu-launch --notes</command>
        </action>
       </keybind>
       <keybind key="W-O">
        <action name="Execute">
          <command>/usr/bin/dmenu-launch --apps</command>
        </action>
       </keybind>
       <keybind key="W-F">
        <action name="Execute">
          <command>/usr/bin/dmenu-launch --search</command>
        </action>
       </keybind>

    (Optional) i3wm Keybindings

    i3wm users just need to add the following to ~/.config/i3/config for the suggested keybindings:

    # Lauch dmenu custom wrappers (github.com/fsilveir/dmenu-launch)
    bindsym $mod+a exec /usr/bin/dmenu-launch --pass
    bindsym $mod+q exec /usr/bin/dmenu-launch --notes
    bindsym $mod+o exec /usr/bin/dmenu-launch --search
    bindsym $mod+d exec /usr/bin/dmenu-launch --apps

    Contact

    Create an issue if you want to report a problem or ask for a new functionality any feedback is highly appreciated.

    Visit original content creator repository
    https://github.com/silveiralexf/dmenu-launch

  • car_detect_web

    Car_detect_web

    What a random name for a project.

    A Computer Vision and SLAM platform based oak-d and livox.

    This project is made possible by @Ding Wang, @Sirui Liang, @Jingjie Zhang, @Yanwen Sun and Haonan Wang.

    使用说明书

    效果展示

    image-20230715211513602

    https://github.com/void-echo/car_detect_web/blob/master/static/picture/video.mp4

    本项目主要由以下硬件设备组件构成:

    • Livox Mid 40 雷达

    • Oak-d RGB-D摄像头

    • 极创-JC600 履带式无人车

    • RS232-USB 转换器及其驱动

    • 以太网网线

    • 装备了Ubuntu 18.04 的PC一台

    环境配置

    在运行该系统之前,你需要安装以下环境:

    1. Ubuntu 18.04
    2. Python 3.10.9
    3. 相对应的python库(python依赖已经在requirements.txt当中写明)
    4. ROS Melodic
    5. Livox ROS Driver
    6. Cmake 3.10 及以上版本
    7. Opencv 4.5 及以上版本

    如何运行

    1. 硬件软件设备准备完毕后,使用USB转RS232串口将电脑与小车链接,将网线与 livox 雷达链接,打开电脑。
    2. 配置项目环境。推荐使用 requirements.txt 建立 venv 或 conda 环境。
    3. 我们的项目主程序是 MAIN.py 程序。在终端中输入 python MAIN.py 即可运行。(如果电脑上有多个 conda 环境,需要先激活环境)
    4. 程序默认会在 127.0.0.1:8000 上建立一个本地服务器,可以在浏览器中输入该地址访问网页。
    5. 网页分为两个部分,第一部分是项目总览图和成员简介,在这里可以看到我们的项目总体情况和成员介绍。
    6. 第二部分是项目实时监控界面,可以看到小车的实时位置和雷达扫描的实时数据。在这里可以通过点击按钮来切换平台的不同模式,共计 10 个不同的模式:
      1. livox loam 改进版模式:在这个模式下,小车会使用 livox loam 改进版算法来进行建图,并且实时绘制点云图。
      2. oak-d SLAM 模式:使用基于 specularAI 的并行优化算法,利用 oak-d 摄像头进行建图、绘制点云图。
      3. 实时小车避障模式:在这个模式下,小车会实时进行避障,并且自动行驶。
      4. PCD 文件展示框。此处可以展示 PCD 文件,并且支持点云的旋转、缩放、平移等操作。
      5. 避障功能实例视频展示。
      6. OpenCV 边缘检测:小车利用 oak-d 摄像头进行边缘检测。
      7. 预训练模型拉普拉斯金字塔边缘检测:小车利用 oak-d 摄像头进行边缘检测,使用的是 300×300 像素大小的预训练模型。
      8. OpenCV 关键点追踪:小车利用 oak-d ,结合 depthai API 和 opencv 库进行关键点追踪。
      9. livox-loam 建图。小车利用 livox loam 算法进行建图。livox loam 算法是一种激光雷达建图算法,在 2019 年由香港大学的 Ji Zhang 等人提出。
      10. 物体追踪。oak-d 摄像头进行物体和人体的追踪,可以记住人物的编号,当人物离开画面后再次进入画面时,可以自动识别出编号。

    实际运行效果已经向各个项目实训验收老师展示。

    环境搭建

    1. Ubuntu 18.04

    Ubuntu 18.04 是本项目的操作系统,我们使用的是 Ubuntu 18.04 LTS 版本。

    为什么使用 Ubuntu 18.04 LTS 版本?因为 Livox Loam 算法支持的最高版本是 Ubuntu 18.04,与此同时,Livox Loam 算法 依赖的 ROS Melodic 也是支持的最高版本。

    注意,经过测试,虚拟机中的 Ubuntu 18.04 很难链接 Livox 雷达。考虑到系统所需要的性能、为了编码和进程切换方便,我们建议使用物理机安装 Ubuntu 18.04。

    如果你的电脑本来是 Windows 系统,可以参考 这个教程. 需要准备的东西:大概半小时的时间,以及一个容量超过 4GB 的 U 盘。

    2. Python 环境

    建议直接用 conda 会更方便一些。另外也不会干扰到系统已有的 python 环境。

    环境创建后,只需要安装 requirements.txt 中的依赖。

    这个项目是基于 Python 3.10.9 开发的,其他版本的有可能 Python 也可以运行,但并没有经过测试。

    ROS Melodic

    ROS 是机器人操作系统,是一个开源的机器人操作系统软件平台,它为机器人软件开发提供了一系列的标准操作系统服务。ROS 的目标是为机器人研究和开发提供代码共享的平台。

    ROS Melodic 是 ROS 的一个版本,是目前支持 Ubuntu 18.04 的最高版本。

    配置 ROS 环境是一个相当复杂的过程,我们建议直接参考 ROS Melodic 官方教程 进行配置。尽量不要忽略任何步骤。

    注意,如果已经有了其他版本的 ROS,最后建议不把 ROS Melodic 的环境变量加入到 ~/.bashrc 中,而是在需要的时候手动 source。

    3. Livox SDK

    Livox SDK 是 Livox 雷达的软件开发包,可以用来链接 Livox 雷达,获取雷达数据。

    除了 Livox SDK 之外,还需要安装 Livox Viewer、Livox ROS Driver 等工具。具体步骤可以参考 Livox 官方教程。这里不再赘述。

    其他独立环境例如 OpenCV、PCL、CMake 等等,可以参考分别的网上教程。

    注意:CMake 的安装必须在环境配置的最开始进行,因为 ROS 的安装需要 CMake 的支持,而 CMake 卸载的话,会顺便把 ROS 也卸载掉一部分。这可能会导致一些很难定位、解决的问题。

    Visit original content creator repository https://github.com/void-echo/car_detect_web
  • jubatus

    Jubatus

    https://api.travis-ci.org/jubatus/jubatus.svg?branch=master

    The Jubatus library is an online machine learning framework which runs in distributed environment.

    See http://jubat.us/ for details.

    Quick Start

    We officially support Red Hat Enterprise Linux (RHEL) 6.2 or later (64-bit) and Ubuntu Server 14.04 LTS / 16.04 LTS / 18.04 LTS (64-bit).
    On supported systems, you can install all components of Jubatus using binary packages.

    See QuickStart for detailed description.

    Red Hat Enterprise Linux 6.2 or later (64-bit)

    Run the following command to register Jubatus Yum repository to the system.

    // For RHEL 6
    $ sudo rpm -Uvh http://download.jubat.us/yum/rhel/6/stable/x86_64/jubatus-release-6-2.el6.x86_64.rpm
    
    // For RHEL 7
    $ sudo rpm -Uvh http://download.jubat.us/yum/rhel/7/stable/x86_64/jubatus-release-7-2.el7.x86_64.rpm
    

    Then install jubatus and jubatus-client package.

    $ sudo yum install jubatus jubatus-client
    

    Now Jubatus is installed in /usr/bin/juba*.

    $ jubaclassifier -f /usr/share/jubatus/example/config/classifier/pa.json
    

    Ubuntu Server (64-bit)

    Write the following line to /etc/apt/sources.list.d/jubatus.list to register Jubatus Apt repository to the system.

    // For Ubuntu 12.04 (Precise) - Deprecated (unsupported)
    deb http://download.jubat.us/apt/ubuntu/precise binary/
    
    // For Ubuntu 14.04 (Trusty)
    deb http://download.jubat.us/apt/ubuntu/trusty binary/
    
    // For Ubuntu 16.04 (Xenial)
    deb http://download.jubat.us/apt/ubuntu/xenial binary/
    
    // For Ubuntu 18.04 (Bionic)
    deb [trusted=yes] http://download.jubat.us/apt/ubuntu/bionic/binary /
    

    Now install jubatus package.

    $ sudo apt-get update
    $ sudo apt-get install jubatus
    

    Now Jubatus is installed in /opt/jubatus/bin/juba*.

    $ source /opt/jubatus/profile
    $ jubaclassifier -f /opt/jubatus/share/jubatus/example/config/classifier/pa.json
    

    Other Platforms

    For other platforms, refer to the documentation.

    License

    LGPL 2.1

    Third-party libraries included in Jubatus

    Jubatus source tree includes following third-party library.

    • cmdline (under BSD 3-Clause License)

    Jubatus requires jubatus_core library. jubatus_core contains Eigen and fork of pficommon. Eigen is licensed under MPL2 (partially in LGPL 2.1 or 2.1+). The fork of pficommon is licensed under New BSD License.

    Update history

    Update history can be found from ChangeLog or WikiPage.

    Contributors

    Patches contributed by those people.

    Visit original content creator repository
    https://github.com/jubatus/jubatus

  • Python-Project-Budget-Calculator

    Python Project: Budget Calculator

    My first Python project from drafting and designing to coding and README: take in initial budgets of 6 major categories and let the user to deposit, withdraw, check current statistics and generate current plots.

    Table of contents

    Description

    • Implement a Budget class to store category’s name, balance, total amount of deposition and withdrawal by updating them with functions deposit and withdraw.
    • Main:
        1. ask for user’s initial budget of each category (Food, Clothing, Accessory or Makeup, Entertainment, Transport, and Others) and create Budget object for each category and store them in an array
        1. ask for the next step user want to do by typing choice number (Deposition and Withdraw / Check Statistics / Generate Plots / Quit)
        1. call functions respectively and repeat to ask for next step or end the program if user choose to quit
    • depositAndWithdraw function:
      • argument: an array storing all categories objects
        1. ask for the next step user want to do by typing choice number (Deposition / Withdrawal / Exit)
        1. ask for the catetegory and the amount user want to deposit or withdraw if they choose to
        1. repeatedly asking user untill user choose to exit
      • error handling:
        • user can only type 1 / 2 / 3 to choose from Deposition / Withdrawal / Exit
        • user can only type 1 / 2 / 3 / 4 / 5 / 6 to choose from Food / Clothing / Accessory or Makeup / Entertainment / Transportation / Others
        • user can only type in a positive number for the amount they want to deposit or withdraw
        • user can only type in a number smaller than the current balance of category they want to withdraw from
    • budgetStatistics function:
      • argument: an array storing all categories objects
        1. print balance of each category, and calculate and print total, mean, maximum and minimum balance of all categories
        1. print cumulative deposition of each category, and calculate and print total, mean, maximum and minimum deposition of all categories
        1. print cumulative withdrawal of each category, and calculate and print total, mean, maximum and minimum withdrawal of all categories
        1. use tabulate module to print out the percentage of balance, deposition and withdrawal of each category out of the the overall statistics
      • error handling:
        • if total balance or deposition or withdrawal is equal to 0, then keep passing the respective zero array to tabulate
    • budgetPlots function: (matplotlib)
      • argument: an array storing all categories objects
        1. generate a bar chart with comparison between current balance, deposition and withdrawal of each category
        1. generate 3 subplots in one window
        • 1st subplot: pie chart showing the percentage of balance of each category out of the the overall statistics
        • 2nd subplot: pie chart showing the percentage of deposition of each category out of the the overall statistics
        • 3rd subplot: pie chart showing the percentage of withdrawal of each category out of the the overall statistics
      • error handling:
        • if total balance or deposition or withdrawal is equal to 0, keep the respective array zero
        • if total balance or deposition or withdrawal is not equal to 100, empty plot generated for respective subplot(s)
    • record.txt: (file writing)
      • at the start of the program: open a new record.txt file or overwrite if record.txt already exists
      • write in the amount and category user deposit or withdraw from, and write in the current balance of that category every time
      • at the end of the program: write in the balance summary of each category and also the overall balance

    Getting started

    Prerequisites

    • Python 3: 3.10.1 for author
    • install NumPy: pip install numpy
    • install Matplotlib: pip install matplotlib
    • install tabulate: pip install tabulate

    Executing program

    • download budget_calc.py and open it in a Python IDE (Visual Studio Code for author)
    • run the program and follow the instructions

    Usage

    Example of usage:

    image image image image) image) image image image image image image) image) image image image image

    Author

    LKY Michelle
    Link of project: https://github.com/LKYMichelle/Python-Project-Budget-Calculator.git

    License

    This project is licensed under the MIT License – see the LICENSE file for details

    Visit original content creator repository https://github.com/LKYMichelle/Python-Project-Budget-Calculator
  • pern-photo-gallery

    PERN Photo Gallery

    A photo gallery website that uses the PERN (PostgreSQL, Express, React, Node) stack. React Router is also used for front-end routing.

    Take a look: https://pern-photo-gallery.onrender.com/.

    Contents

    Key features

    Photo listing pages

    Photo listing pages are dynamically rendered via requests to back-end API endpoints, which return JSON data that’s used to populate the current collection page or homepage.

    Photo listing page example

    Relevant code: front-end photo feed components; photos API endpoints; collections API endpoints; database query functions.

    Photo detail pages

    Photo detail pages are dynamically rendered via requests to a back-end API endpoints, which return JSON data that’s used to populate the current photo content and related collection links (all collections that contain the photo).

    Product detail page example

    Relevant code: front-end photo detail page component; photos API endpoints; collections API endpoints; database query functions.

    Dynamic routing

    Front-end URL routing is implemented using React Router v6, utilising dynamic paths (params, specifically photo & collection URL slugs) and data retrieval functions (loaders) to load content via requests to the back-end API.

    Relevant code: routing configuration; photo feed component; photo detail page component.

    Testing

    Over 20 tests are implemented using Jest, SuperTest, and React Testing Library. Back-end tests utilise a mock database while front-end tests incorporate routing.

    Relevant code: back-end photos tests; back-end collections tests; front-end tests; front-end test routers.

    Database documentation

    The database structure is documented via a Database Markup Language file and visualised in a diagram.

    Database diagram

    Technologies

    Back end

    Front end

    Setup

    1. Clone/download a local copy of this repository.
    2. Using the command line, navigate to the /back-end subdirectory and run npm install to install package dependencies (using the package-lock.json file).
    3. Create the application & test PostgreSQL databases, optionally using the SQL provided in /back-end/db/db-creation.sql, using a PostgreSQL client application (e.g. pgAdmin) or the command line (psql).
    4. Create and populate the application & test database tables using the SQL provided in /back-end/db/table-creation.sql and /back-end/db/table-population.sql respectively.
    5. In the /back-end subdirectory, rename the example.env file to .env.
    6. In the .env file, update the values corresponding to the PostgreSQL database configurations as required. Refer to the following documentation for more details:
    7. Optional: using the command line, run npm test in the /back-end subdirectory to run the test suite (all tests should pass if the steps above were successful).
    8. Using the command line, run node index.js in the /back-end subdirectory to start the API server.
    9. Using a new command line window, navigate to the /front-end subdirectory and run npm install to install package dependencies (using the package-lock.json file).
    10. In the /front-end subdirectory, rename the example.env file to .env.
    11. Optional: using the command line, run npm test in the /front-end subdirectory to run the test suite (all tests should pass if the steps above were successful).
    12. Using the command line, run npm start in the /front-end subdirectory to start the React app (while the back-end API server is still running via a separate command line window).
    13. The application should launch in your browser, but otherwise can be accessed at http://localhost:3000/.

    FAQs

    Can I see an example?

    Yes! A production version of the website can be found here: https://pern-photo-gallery.onrender.com/.

    Why did you build this?

    This is one of the practice projects that I completed as part of the Codecademy Full-Stack Engineer career path. I planned and built it independently; the only requirement was to build an application using the PERN stack.

    I now have more experience with:

    • Database design, table creation, and querying
    • Automated testing of Node.js and React applications
    • The PERN stack and full-stack web development in general

    Is this project in active development?

    I’m not currently working on further improvements/features.

    Visit original content creator repository https://github.com/Cmastris/pern-photo-gallery